CATEGORIES
SEARCH
FEATURED CONTENT
Metrology Equipment in Rathburn’s Quality Lab Helps Dial In Precision
08
04
2023
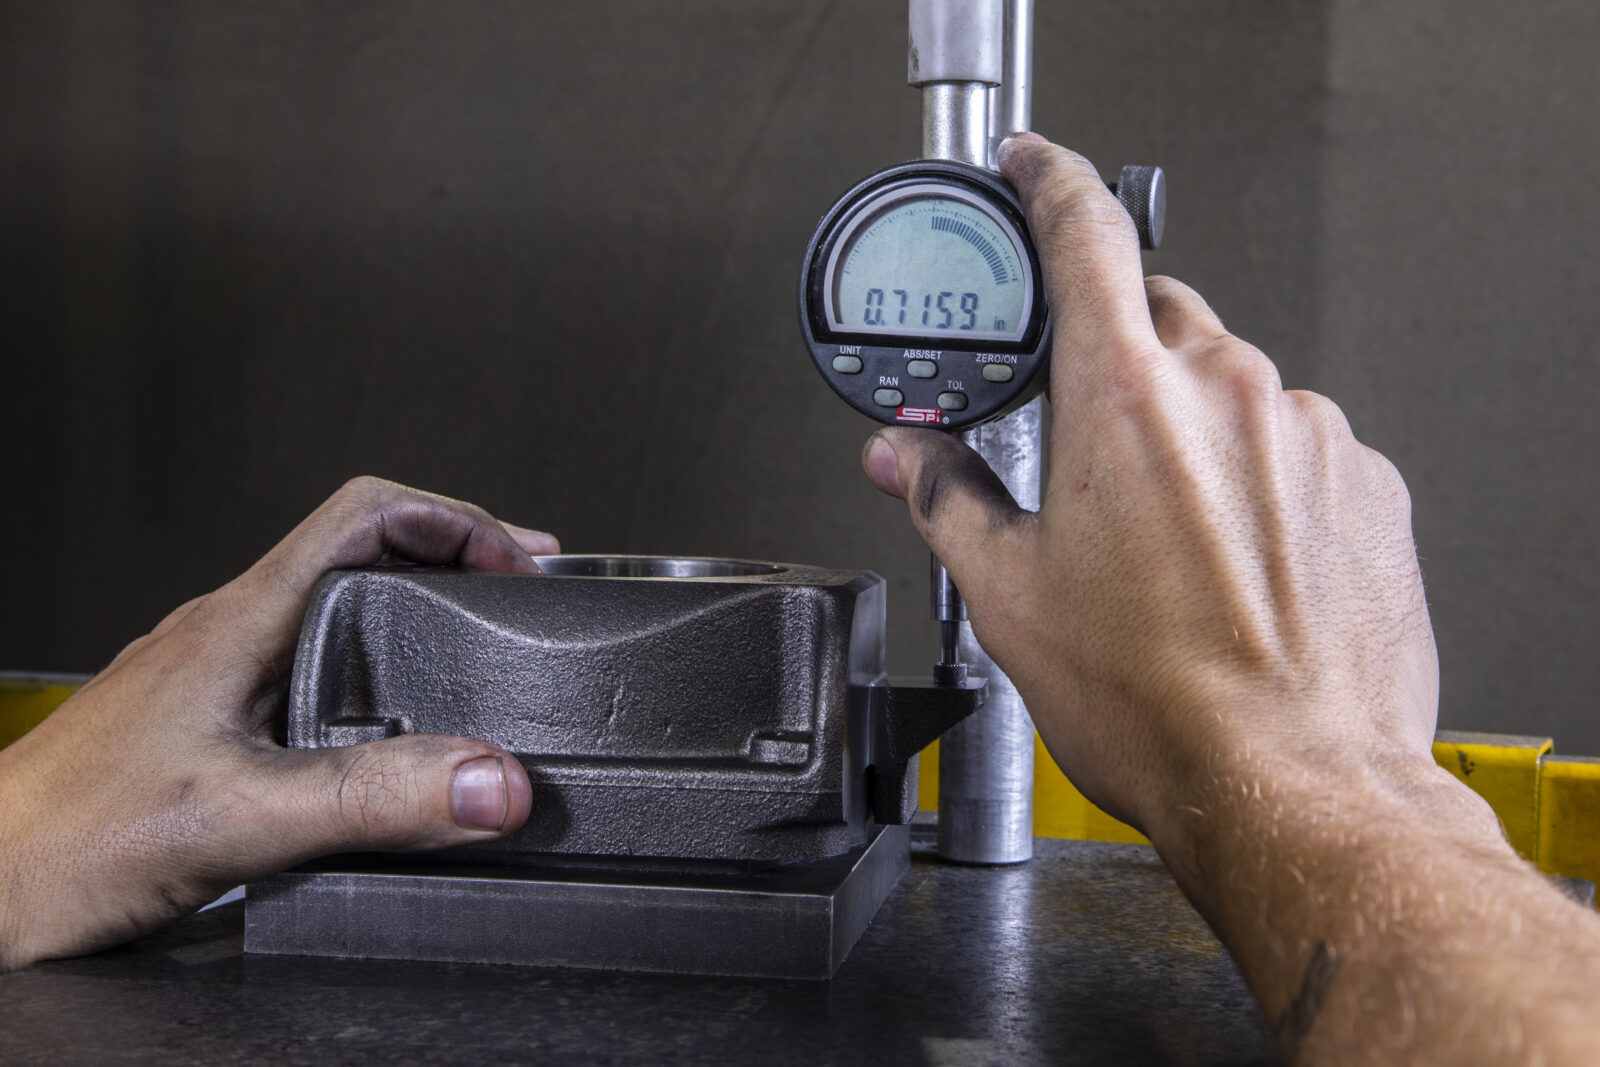
It’s easy to look at the volume of precision parts Rathburn Tool produces every year and think production is all we do. You could, but you’d be missing a lot of what makes Rathburn special. One example is our Quality Lab. It’s at the heart of everything we do but it’s not something most people associate with a company our size. Our Quality Lab is a hub of activity and helps us determine the status of startup, production, and shipping on any product we make for our customers.
Quality has always been important to Rathburn. It was something our founder Jerry Rathburn demanded from the beginning. So it’s not a surprise that in the evolution of meeting the needs of our customers our Quality Lab was created and grown to include the latest equipment and operational expertise. Plus, with Rathburn’s commitment to having the latest technology in manufacturing precision parts, our Quality Lab has had to keep pace so our ability to manufacture to precise tolerances didn’t outpace our ability to measure those tolerances.
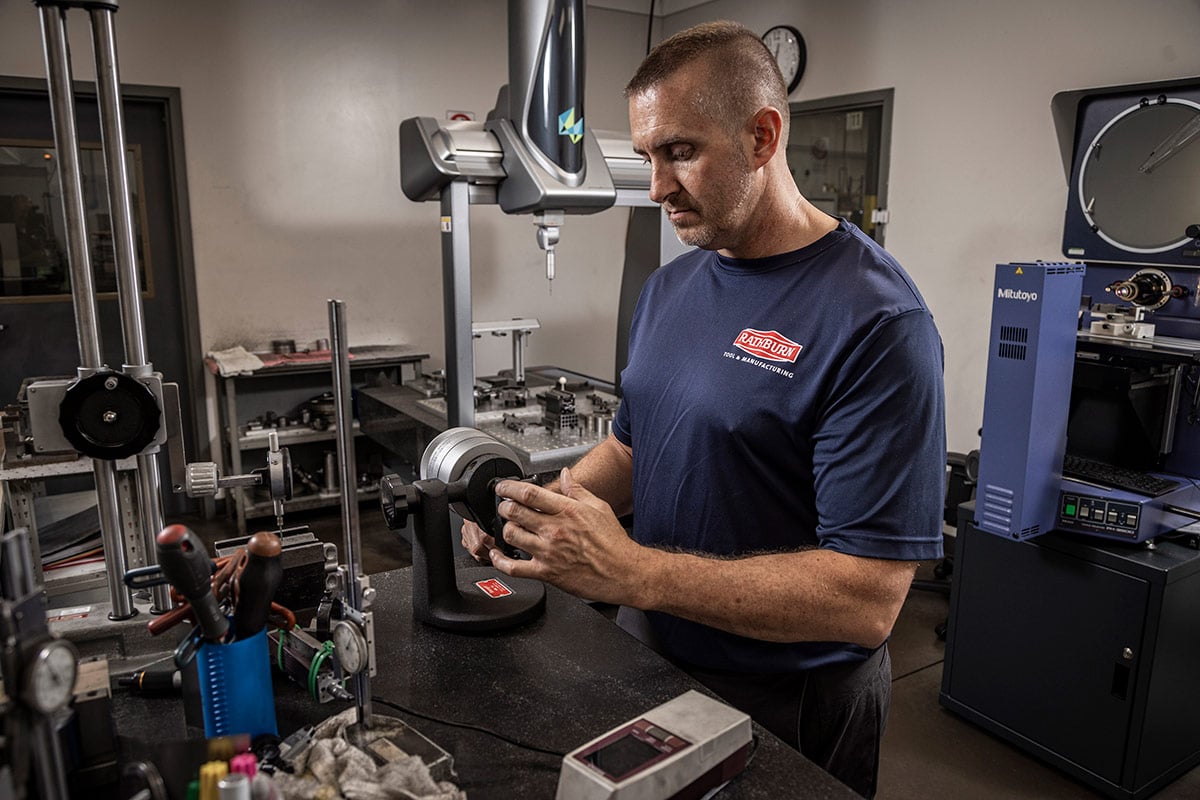
As a result, Rathburn has continued to invest in measuring technologies including Direct Computer Controlled Coordinate Measuring Machines (DCC CMMs) and optical comparators. Our newest CMM is completely automated and ideal for higher volumes and repeating batch production parts. The Hexagon Global S Green 7.10.7 has an articulating head with an available scanning head and is used to scan and measure most of Rathburn’s parts output—especially when a more accurate reading of the geometry is required. This CMM is accurate to four microns and is calibrated annually. The Hexagon also has fully customizable report writing, which we save electronically for historical reference in accordance with the document retention standards required by each customer.
Another CMM in Rathburn’s Quality Lab is the manual Mitutoyo. This helps with overflow from the Hexagon and/or for prototype and low-volume production. The Mitutoyo is accurate to 15 microns (as compared to four microns for the Hexagon).
We also recently upgraded our optical comparator to a Mitutoyo PH-3500, which complements the CMMs to measure features faster than either of the CMMs. This is helpful for items with small radiuses and undercuts. The Mitutoyo PH-3500 is particularly helpful for Swiss and other lathe shaft work because of its edge finder and surface illumination. It also allows for creation of custom programs and reports so that machinists or technicians in the Quality Lab can inspect the parts.
Quality matters to us at Rathburn Tool. Sure, lots of companies say the same thing. It’s our commitment to the people and equipment that makes all the difference. And that means staying focused on getting the details right—even down to four microns!
About Rathburn Tool & Manufacturing
Established in 1983, Rathburn Tool & Manufacturing delivers precision-machined, manufacturable solutions made possible by a combination of technology and experienced teams for companies that need their products and equipment to work well every time.
Watch this video to learn more about Rathburn Tool’s commitment to quality. For more information about our capabilities and equipment, please reach out to us at info@rathburnmachining.com.
RELATED POSTS

Metrology Equipment in Rathburn’s Quality Lab Helps Dial In Precision
08
04
2023
It’s easy to look at the volume of precision parts Rathburn Tool produces every year and think production is all we do. You could, but you’d be missing a lot of what makes Rathburn special. One example is our Quality Lab. It’s at the heart of everything we do but it’s not something most people associate with a company our size. Our Quality Lab is a hub of activity and helps us determine the status of startup, production, and shipping on any product we make for our customers.
Quality has always been important to Rathburn. It was something our founder Jerry Rathburn demanded from the beginning. So it’s not a surprise that in the evolution of meeting the needs of our customers our Quality Lab was created and grown to include the latest equipment and operational expertise. Plus, with Rathburn’s commitment to having the latest technology in manufacturing precision parts, our Quality Lab has had to keep pace so our ability to manufacture to precise tolerances didn’t outpace our ability to measure those tolerances.
As a result, Rathburn has continued to invest in measuring technologies including Direct Computer Controlled Coordinate Measuring Machines (DCC CMMs) and optical comparators. Our newest CMM is completely automated and ideal for higher volumes and repeating batch production parts. The Hexagon Global S Green 7.10.7 has an articulating head with an available scanning head and is used to scan and measure most of Rathburn’s parts output—especially when a more accurate reading of the geometry is required. This CMM is accurate to four microns and is calibrated annually. The Hexagon also has fully customizable report writing, which we save electronically for historical reference in accordance with the document retention standards required by each customer.
Another CMM in Rathburn’s Quality Lab is the manual Mitutoyo. This helps with overflow from the Hexagon and/or for prototype and low-volume production. The Mitutoyo is accurate to 15 microns (as compared to four microns for the Hexagon).
We also recently upgraded our optical comparator to a Mitutoyo PH-3500, which complements the CMMs to measure features faster than either of the CMMs. This is helpful for items with small radiuses and undercuts. The Mitutoyo PH-3500 is particularly helpful for Swiss and other lathe shaft work because of its edge finder and surface illumination. It also allows for creation of custom programs and reports so that machinists or technicians in the Quality Lab can inspect the parts.
Quality matters to us at Rathburn Tool. Sure, lots of companies say the same thing. It’s our commitment to the people and equipment that makes all the difference. And that means staying focused on getting the details right—even down to four microns!
About Rathburn Tool & Manufacturing
Established in 1983, Rathburn Tool & Manufacturing delivers precision-machined, manufacturable solutions made possible by a combination of technology and experienced teams for companies that need their products and equipment to work well every time.
Watch this video to learn more about Rathburn Tool’s commitment to quality. For more information about our capabilities and equipment, please reach out to us at info@rathburnmachining.com.
